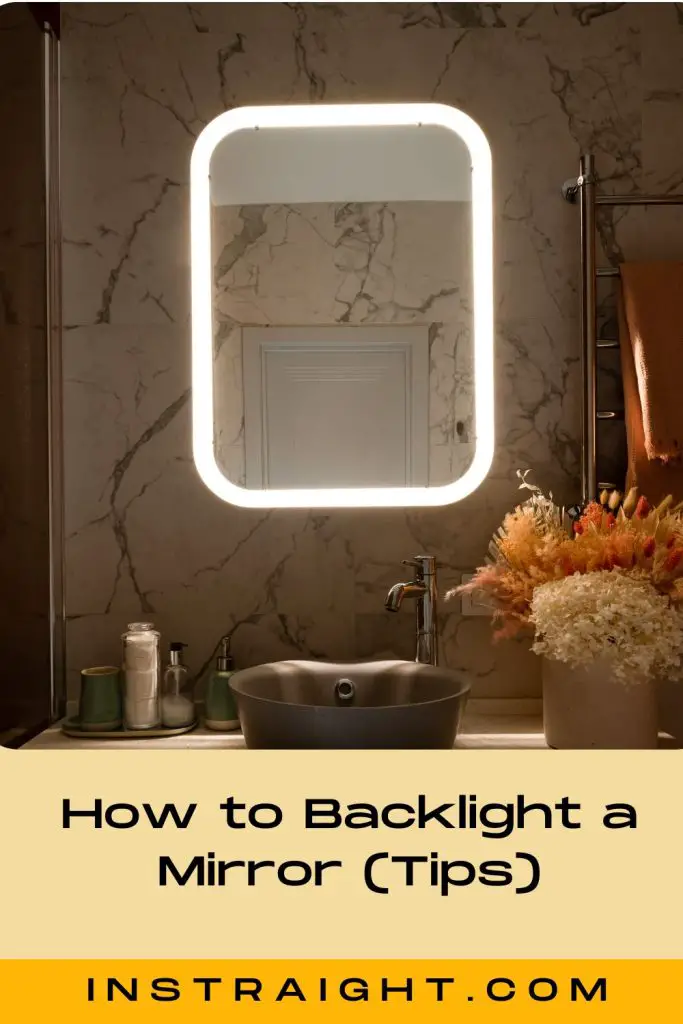
Looking for a functional procedure on how to backlight a mirror? I understand a lighted mirror doesn’t come cheap. (1)
Backlighting a mirror is as simple as adding an array of lighting fixtures for that bright glow. Will that be as perfect as you want it to be, though? Maybe yes, maybe not.
I have researched many ways to backlight mirrors and developed a usable step-by-step guide to avoid the maybes.
Without further ado, let’s get started.
Backlighting a Mirror: Step By Step Guide
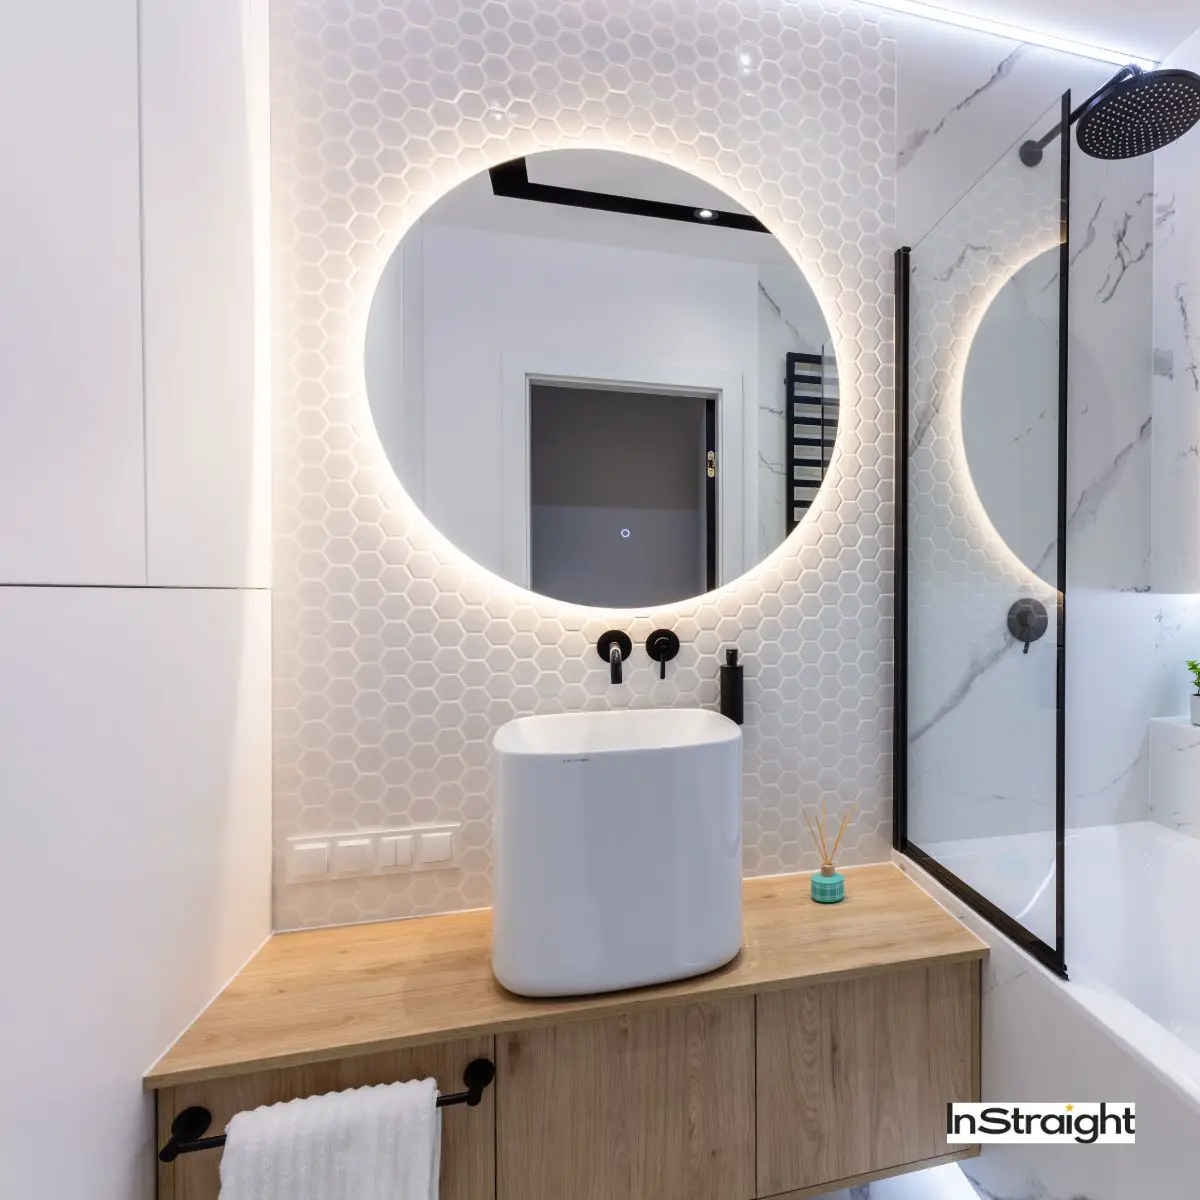
You’ve looked at your regular rectangular mirror and decided it needs to change. Sure, it does its work well enough. You can still see your reflection.
However, you feel there’s something still missing. You want a beautiful illuminated mirror with perfect lighting. A mirror that will add a beautiful, beneficial glow to any room.
Here’s a guide on how to get the perfect backlit mirror. And no, this isn’t all about adding light bulbs on the mirror’s edge.
What You Will Need
Before knowing how to backlight a mirror, you must know the tools you’ll need. Here they are:
- LED Light Strips
- An Electrical Power Source
- Mounting Bars
- Glue
- Tape Measure
- Power Cord
Step 1: Determine the Length of the LED Strips You Need
Use the tape measure to total the distance around your mirror. You should measure at a distance of about two inches from the mirror’s edge.
For a rectangular mirror, measure each side, then add the total measurements to get the length of the strip of LED lights you’ll need. Mark all of the measuring points.
For a circular or oval mirror, start at the point near the top of the mirror. Stretch the tape measure to a point two inches from the bottom.
Calculate the circumference using pie, which is 3.14. Record the value you get somewhere safe.
Step 2: Attaching the LED Strips
Turn over the mirror, and then locate the place you made a mark. Place the adhesive strip onto the mirror following the positions you placed the tape measure.
At the corners, ensure the strips form a 90-degree angle while staying at least 2 inches from the edges on all sides.
For circular mirrors, fold the small distance between the lights in the LED strips to form an accordion-like fold. This will be easier to fit around the circular mirror.
Step 3: Add Glue for Adherence
All-purpose super glue or glass glue can help adhere the strips onto the mirror surface.
Add small drops of glue to the folds to hold them firmly in place. Press for about ten seconds to ensure the strips stick to the mirror’s surface.
Step 4: Mirror Installation
Attach the mirror to the power source cable. Ensure you clip on wire connectors to the power cable so that the wires don’t fall in front of the mirror.
The power cords need to be hidden behind the mirror for a pleasant look.
Step 5: Hang The Mirror
You might need help hanging the mirror on the wall, especially if it’s large. Ensure you hang it next to an external wall switch so you can easily plug it in.
Next, test the light strips to see if they’re working. Now you have ambient light to go along with natural light when using your mirror.
Check out this video for other tips:
Tips to Remember When Making a Mirror Backlit
1. If it is a backlit bathroom mirror you’re working on, you need waterproof LED strips. Bathroom mirrors often get wet, which can damage the light strips.
2. Spacers work well if you don’t want to install a floating wall or vanity mirror. They create space to install the strip lights behind the mirror.
3. Always go for warm LED lights because they add a soft glow of light without overburdening a room with too much light.
4. For a modern look with your glass mirror, select bright or colored strips.
5. The power source should be compatible with your purchased LED strips. Ask for assistance with this when buying the strips.
FAQs
1. Are There Smart LED Strips For Mirror Backlighting?
Yes. Some LED strips can operate by remote control. Some have touch control for easier operation.
2. Are Backlit Mirrors Expensive?
Backlit mirrors are quite expensive. Just look at the prices here and the relative sizes (2). That’s why most people want to know how to backlight an existing mirror.
Conclusion
I hope the steps outlined here help you to learn how to backlight an illuminated mirror. It isn’t difficult to backlight a mirror, especially if you’re patient enough.
It will be cheaper than buying a new makeup mirror with backlights. All you need is a light source (the LED strips) and the time to work on the mirror.
It is a pretty exciting DIY project I loved working on. Have questions on how to backlight a mirror? Shoot them at me in the comments, and I’ll answer them immediately.
Resources
1. Guo K. The 6 Very Best Lighted Makeup Mirrors [Internet]. The Strategist. 2022. Available from: https://nymag.com/strategist/article/best-lighted-makeup-mirrors.html
2. THE 15 BEST Bathroom Mirrors with Lights for 2023 | Houzz [Internet]. www.houzz.com. Available from: https://www.houzz.com/products/bathroom-mirrors/features_mirror–with-Lights
- About the Author
- Latest Posts

Edith is a self-made entrepreneur with a keen business sense that others admire and a total “can-do” attitude. She’s always coming up with new ideas to anticipate her readers’ needs and help solve all their toughest beauty and skincare problems. You can find more about her Here.
FOLLOW HER on Linkedin and FACEBOOK and ThoseGraces Beauty Blog
