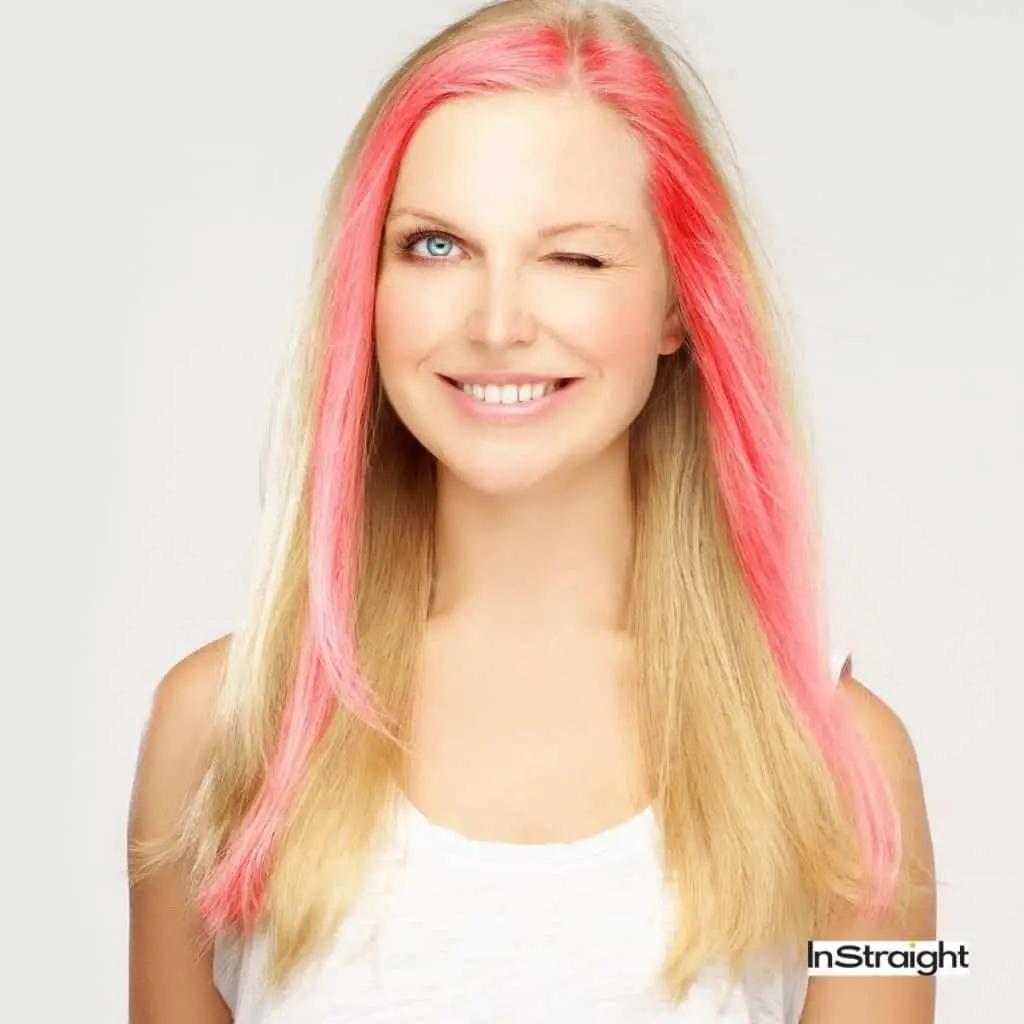
“I wish I knew how to rebond hair at home!” You have probably had this thought at least once in your life, especially after paying a hefty sum to your stylist at the salon.
Sure, the price is worth it but imagine what you could do with all that money if you could rebond your hair yourself!
I feel you, girl, and I’m going to teach you how I rebond my hair myself in the comfort of my own home.
How to Rebond Hair: Essentials Needed
DIY rebond at home is not rocket science! It’s actually really simple and does not take an army to help tame your tresses.
It doesn’t matter what hair type you have; every woman (and man) with unmanageable hair can get shiny hair [1] within a matter of hours.
That’s right. I’m talking hair smoothening in a budget. Here’s what you’ll need to get started.
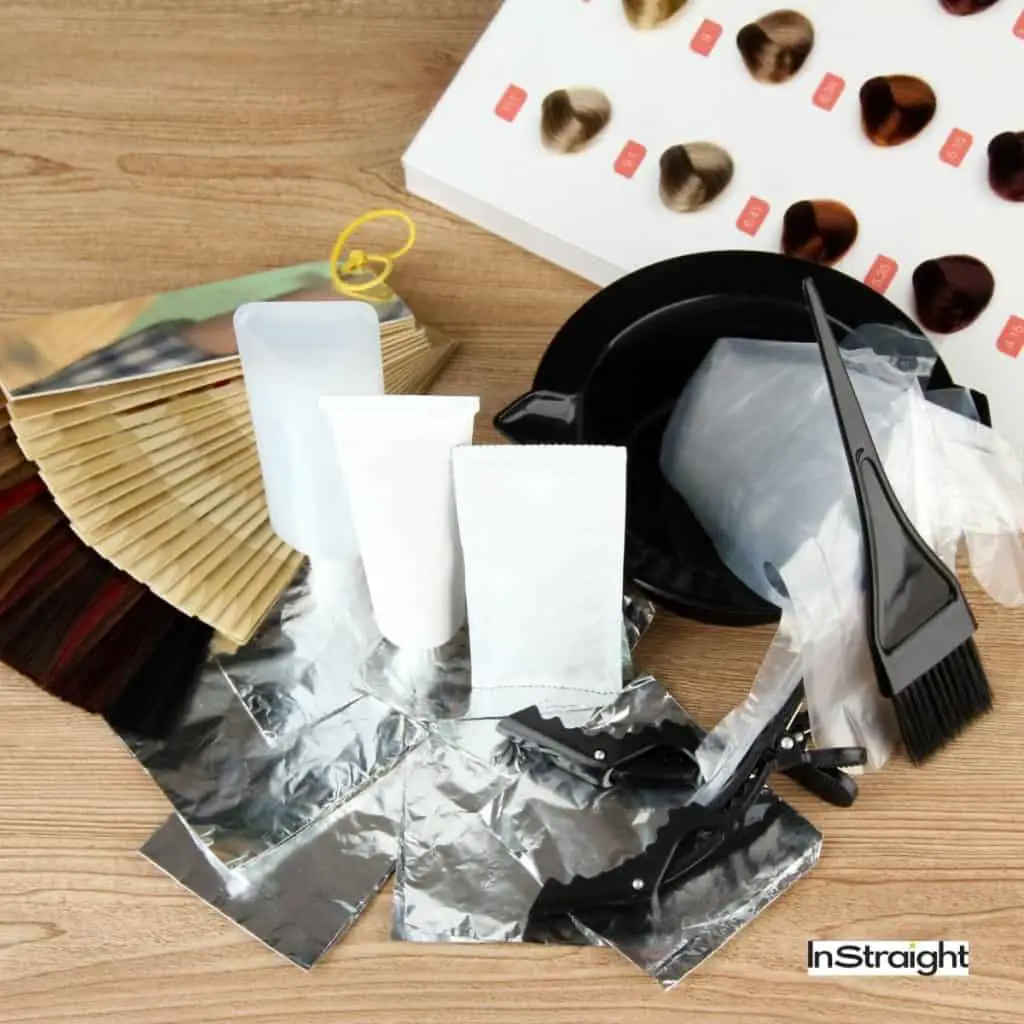
- Hair rebonding kit.
- Mild shampoo
- Blow dryers
- Flat iron
- Surgical gloves
- Deep conditioning treatment
- Hair clips
- Apron or an old T-shirt
- Steamer (if you have one)
How to Rebond Hair at Home: DIY Guide
Now that you have your products ready, here’s how you can achieve smooth and manageable hair right at the comfort of your home.
Before you begin, make sure to sit in a well-ventilated area.
Hair rebonding chemicals can be pretty harsh and must not be inhaled for long. If the room needs some extra help, such as with a fan, make sure to do so.
Using a surgical mask for the entire procedure is good too.
Make sure to use an excellent rebonding kit to take better care of hair.
Dr. Harish Koutam, a Dermatologist, says “Any hair rebonding procedure will cause some hair loss. But avoiding harsh chemicals like formaldehyde can prevent hair damage to a certain extent.”
Now that you have the basics covered, here’s a step-by-step on how to do hair rebonding at home.
STEP 1: First Wash your hair
I need not explain this process. Unless I really have to. I mean, you have been doing it forever! Fine.
Let me just break it down.
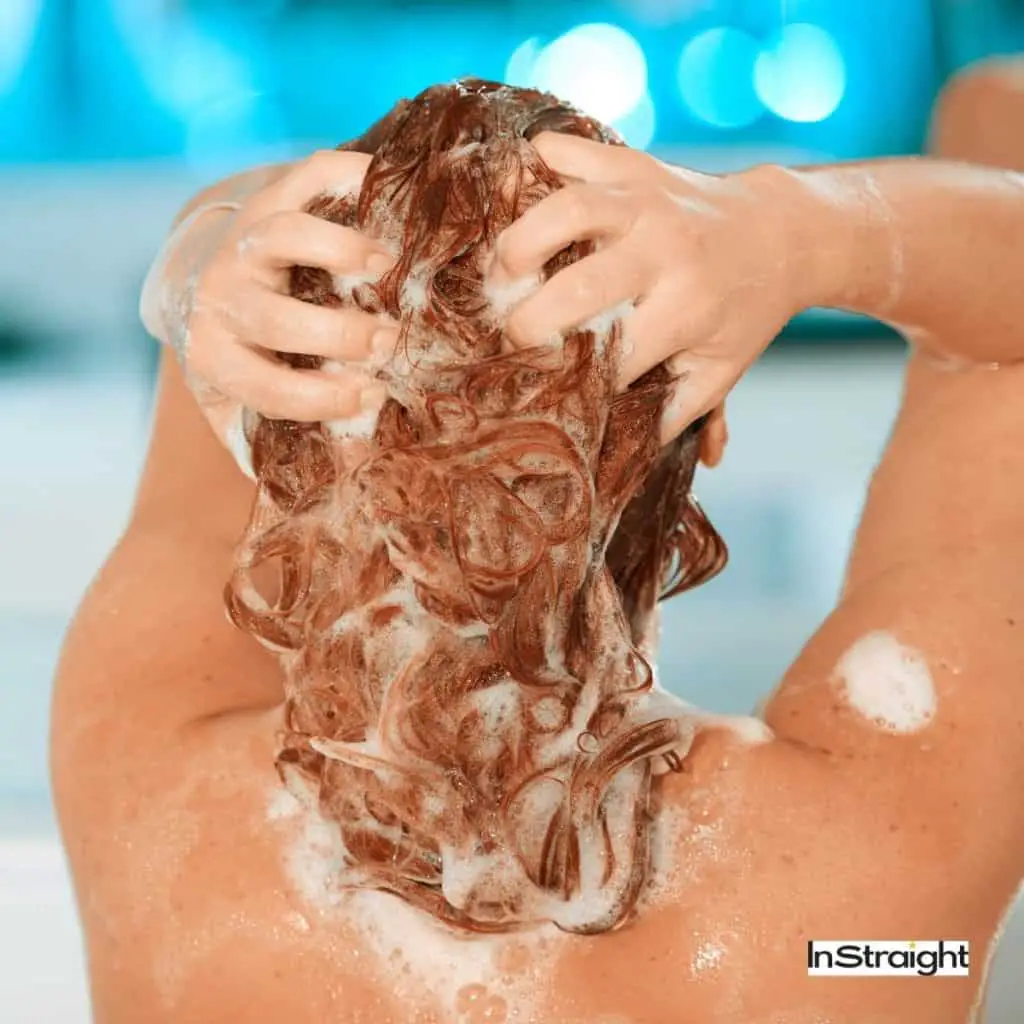
Take a dollop of shampoo, lather it up. Spread on the hair and give yourself a good massage. Sing a song while you’re at it. Rinse it with water. Voila!
STEP 2: Next Blow-dry

Towel dry your hair and use a good-quality dryer on medium heat.
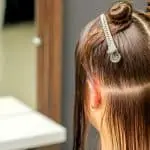
STEP 3: Divide the Hair into Sections
I usually divide mine into four sections, but I have thin-ish hair. If you have thick hair (Oh, how I envy you!), make more partitions.
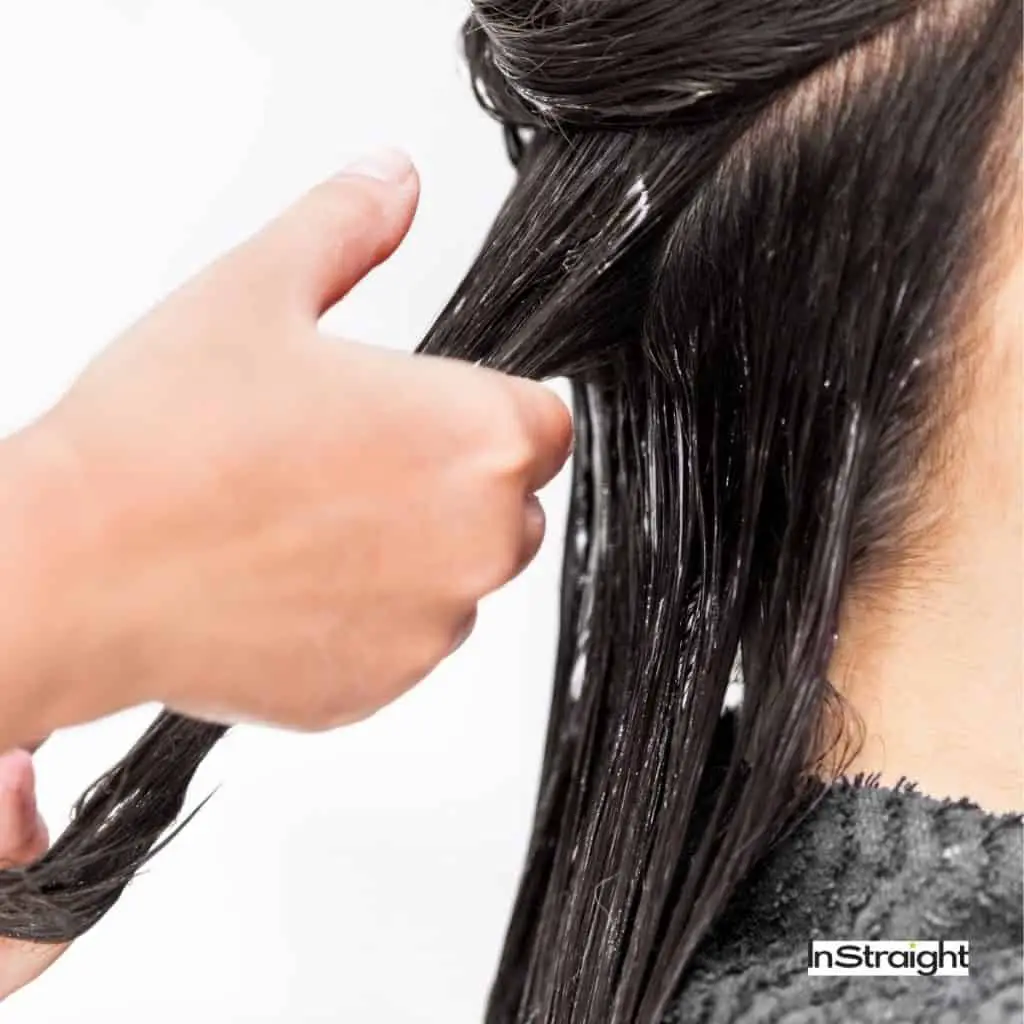
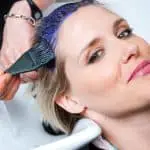
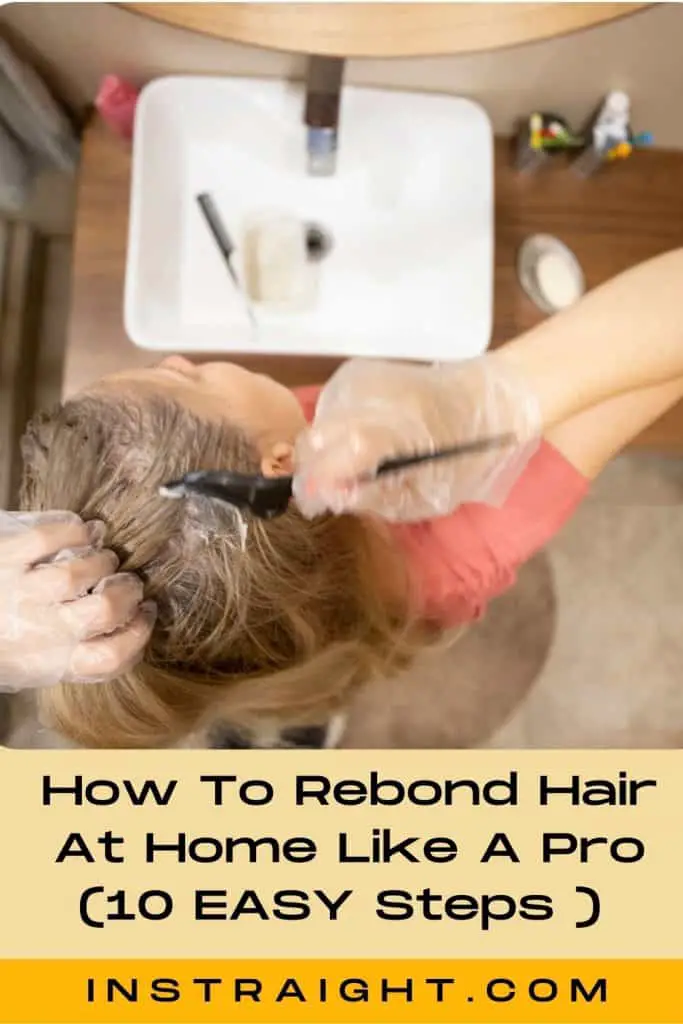
STEP 4: In Comes the Hair Rebonding Product
The relaxant that will help you achieve straight hair goes next. Put on your gloves and apply the rebond cream on the hair.
Do not apply the cream to your scalp.
STEP 5: Steam your Hair
If you have a steamer, let your hair steam for about 20 to 30 minutes, as it will help open up the hair follicles and build natural bonds with the chemical.
If you don’t have one, wet a towel with hot water. Squeeze the water out and wrap it around your head.
STEP 6: Wash the Relaxant Out
Rinse your hair entirely and blow-dry your hair again for the next step. Do not use shampoo.
STEP 7: Start ironing
Here comes the most tedious and probably the longest step of the hair rebonding process. Yes. It will take hours.
Yes.
Your hands will hurt.
And yes.
It is totally worth it.
Divide your hair into paper-thin sections and meticulously go over each hair strand with a flat iron.
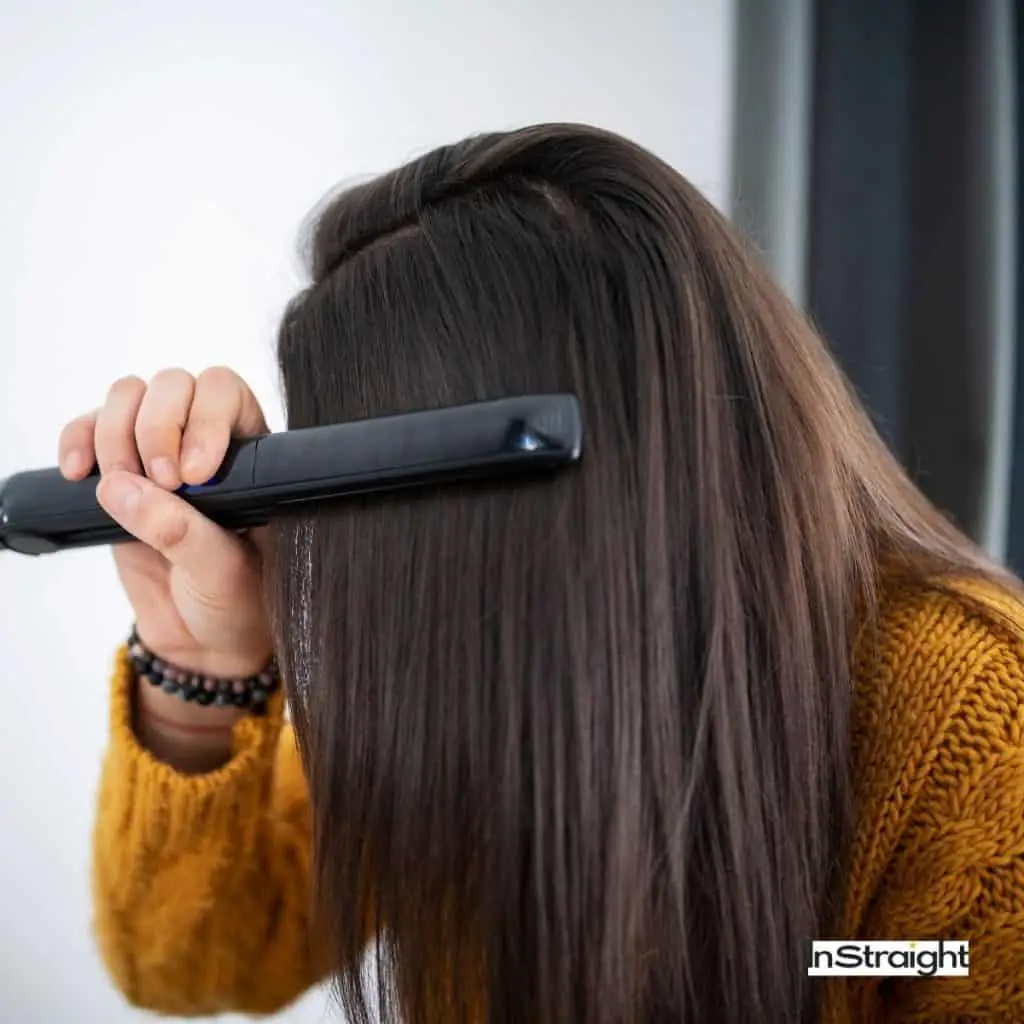
It is best to do this with a good quality ceramic iron.
At this point, you may start to miss your hairstylist; I’m not going to lie! I wonder how she does this day in and day out without breaking a sweat.
STEP 8: Don’t Forget to Apply neutralizer
Separate hair again and apply the neutralizer or keratin lotion onto your hair. Make sure all the hair strands are nicely covered.
Let the cream stay in the hair for about 30 minutes while you enjoy an episode of your favorite show
STEP 9: Now Wash it off
Rinse the hair again with cold water and blow dry it again. If you feel like going over with a flat iron again or if you feel you’ve missed a spot, by all means, go for it.
STEP 10: Enjoy your smooth hair
By now, you have said goodbye to coarse hair and are enjoying your smooth, manageable hair. Enjoy!
If the text wasn’t elaborate enough, I have here is a video that explains each step to rebond your hair yourself at home.
Other Considerations When Rebonding Hair at Home
How to Rebond Hair with Color at Home
Even if you have colored hair, you can effectively enjoy the benefits of having your hair rebounded. The straightening process is similar to that of uncolored hair.
It is best to wait about two months after coloring your hair to get the process done.
However, some hair professionals give you the green signal in as little as two weeks [2]. For your hair health, we recommend you wait out the appropriate time.
If you wish to color your hair after undergoing the rebonding process, it is best to wait about two months.
Coloring and the hair rebonding process should not occur in the same go.
A two-week gap between the two procedures is crucial as both processes require harsh chemicals that could cause some severe damage to your mane.
Treatment for Rebonded Hair
It is best to use a mild shampoo and a conditioner to help condition your hair after the process is over.
Make sure to wait for at least 48 to 72 hours before washing your hair, or you will shampoo away all the chemicals that help keep your hair straight.
You can find professional products and hair treatment for rebonded hair specially curated for your hair type.
Once the rebonding process is over, the hair can become quite fragile and needs to be deeply conditioned at least once every week.
Use a high-quality conditioner to help keep your hair nourished and healthy.
Homemade hair masks work wonders too. Your hairstylist may also suggest getting regular hot oil massages to keep your hair cuticles nice and shiny.
Check our list of the best hair mask for chemically straightened hair!
After-care FOR REBONDED HAIR:
1. Be Careful The First 72 Hours
Do not tie your hair with a rubber band or tuck it behind your ears for 72 hours after the process is over.
It is also best to avoid activities that may cause you to sweat, such as hitting the gym or going out on a sunny day. Do not wet your hair for the first 72 hours.
2. Get Regular Hair Cuts
A hair cut for rebonded hair is paramount to keeping your mane looking gorgeous for longer. All that powerful chemicals will probably fry up your hair ends and cause splits.
Getting rid of the fried-up hair and splits will get your hair looking healthy and shiny.
3. Maintain Your Shine With a Serum
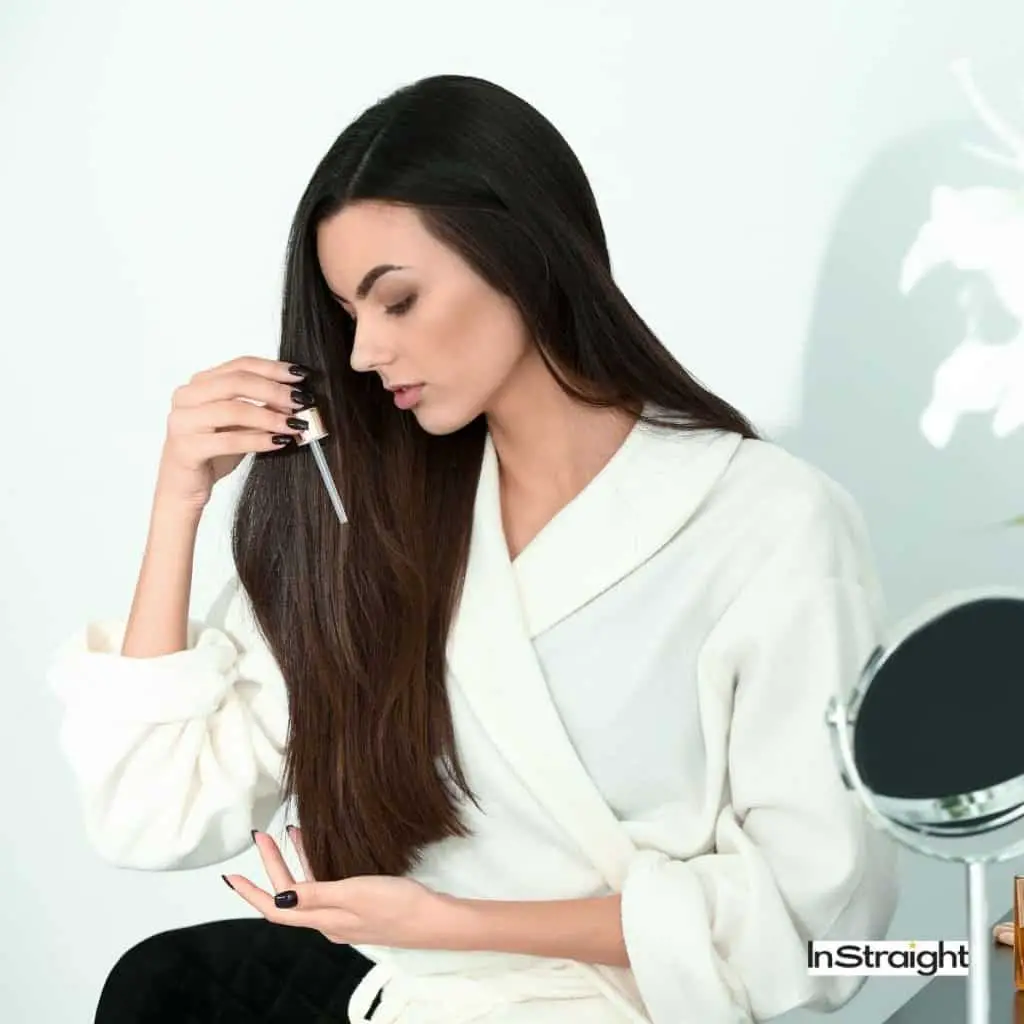
It is advisable to use a serum or a hair coat to protect your tresses from everyday combing and preserve your hair shine.
When washing your hair, make sure to rinse with cold water to help retain the amount of moisture in your hair.
Using hot water on the hair can be quite damaging and may even wash off the hair, straightening chemicals, shortening the life of your bonding.
Additionally, washing your hair as soon as you use the pool or when your hair gets wet in the rain can help prolong your hair health.
Remember to shampoo only when needed and not overwash the hair. Shampooing once every three days may be best. It may be helpful to invest in a good dry shampoo to give your tresses that extra boost.
4. Avoid Hot Tools
Some hair professionals suggest avoiding heat styling, such as curling after the process to help increase the life of chemical straighteners.
FAQs
How many months does rebound last?
The effects of hair rebonding usually last for about 6 to 7 months if taken good care of. After the six months are up, your natural hair growth will usually show up at the roots. At this point, you may need touchups again.
Can I wash my rebonded hair after one day?
You should not wash your hair for 48 to 72 hours after rebonding since the hair strands will lose their treatment. After 48-72 hours, washing your hair with the best shampoo for rebonded hair will help keep your hair healthy.
How Many Times Can You Rebond Your Hair?
Hair professionals recommend avoiding straightening the same spot more than twice a year. So if your roots have grown considerably longer in less than six months, you could opt for a root touchup instead of undergoing the process throughout the length of the hair.
What Age Is Allowed To Rebond Your Hair?
Hair rebonding uses chemical treatments to get rid of frizzy hair and should not be done by girls below the age of eleven since their hair is not fully formed. It could lead to damaged hair if done before that age.
Conclusion
Rebonding is a semi-permanent process that helps straighten your hair and helps you achieve smooth and manageable hair every day.
However, it does not alter your natural hair texture. Meaning, if you have curly hair, the roots would still hold their natural curls.
With rebonded hair, one does not have to spend precious hours styling their hair, but it can be a hassle once the roots start showing up.
Resources
- 1. 10 Tips for Getting the Healthiest, Shiniest Hair of Your Life [Internet]. Healthline. 2021 [cited 2022 Jan 5]. Available from: https://www.healthline.com/health/beauty-skin-care/how-to-get-shiny-hair
- 2. How Long After A Perm Can You Color Your Hair? [Internet]. michair.vn. Available from: https://michair.vn/blogs/how-long-after-a-perm-can-you-color-your-hair
If you have more tips on how to rebond hair at home, please share with us below!
- About the Author
- Latest Posts

I’m just a girl who likes to review everything. I have a sensitive and very dry skin type. Miss Nail Art 2014! Loves makeup & skincare. Read her Latest Articles
Find her on
YOUTUBE AND Instagram. Learn more about her HERE.